Alfresco Content Services 6.2.x のインストール(WAR ファイル)
はじめに
このページでは Alfresco Content Services 6.2 のインストール方法を説明します。
前提として、Alfresco SSL Generator を実行済みであるとします。
1.事前準備
1.1 確認事項
Alfresco Content Service 6.2.x のサポートプラットフォームを確認してください。
1.2 事前準備
1.2.1 必要ファイルの入手
事前に以下のファイルを入手してください。
ファイルの入手はリックソフトのヘルプデスクに依頼ください。
| インストールファイル | ファイル名 | 説明 |
|---|---|---|
Alfresco Content Services Distribution zip | alfresco-content-services-distribution-6.2.x.zip | 新規インストールまたはアップグレード用の配布zipファイル 既存のTomcatアプリケーションサーバーへの手動インストール用のAlfresco WARファイル(配布zipファイル内)。 この配布zipファイルには、モジュール管理ツール(MMT)およびalfresco-global.propertiesなどのサンプル拡張ファイルも含まれています。 |
Alfresco Search Services Distribution zip | alfresco-search-services-2.0.x.zip | Alfresco Search Services インストールファイル。 詳細については、Alfresco Search Servicesのインストール概要を参照してください。 |
alfresco-aos-module-distributionzip-1.3.2.zip | alfresco-aos-module-distributionzip-1.3.2.zip | Alfresco Office Services Module(AOS)を使用すると、Microsoft OfficeアプリケーションからAlfrescoに直接アクセスできます。 |
1.2.2 事前準備のためのインストール
以下のミドルウェアをインストールします。
インストール手順についてはリックソフトサポートドキュメントも参考にしてください。
1〜5 については、それぞれの公式ドキュメント、6 は Alfresco 社の GitHub リポジトリにも手順があります。
- OpenJDK をインストールします
- PostgreSQL をインストールします
- 公式ドキュメント:
- RS サポートドキュメント: PostgreSQL のインストール(CentOS 7 でパッケージから)
- LibreOffice をインストールします
- 公式ドキュメント: Installing LibreOffice on Linux
- RS サポートドキュメント: LibreOffice のインストール
- ImageMagick をインストールします
- 公式ドキュメント: Linux Binary Release
- RS サポートドキュメント: ImageMagick のインストール(ソースから)
- ActiveMQ をインストールします
- 公式ドキュメント: Installation Procedure for Unix
- RS サポートドキュメント: ActiveMQ のインストール
- Alfresco SSL Generator を実行します
- GitHub リンク: Welcome to Alfresco SSL Generator
- RS サポートドキュメント: Alfresco SSL Generator の設定 (※クラシックフォーマットを前提としています)
2.Tomcat のインストール
次のコマンドを実行して Tomcat の tar.gz ファイルをダウンロードします。(ここではアーカイブされたバージョンのファイルをダウンロードしています)
# curl -LkOf https://archive.apache.org/dist/tomcat/tomcat-8/v8.5.65/bin/apache-tomcat-8.5.65.tar.gz
ダウンロードしたファイルが破損していないか確認します(Index of /dist/tomcat/tomcat-8)
# sha512sum apache-tomcat-8.5.65.tar.gz
eb5a77d75a46496f7de39c1cba5f4fc4991ec7da7717e7b37ad48b4ca2ea334aeabfd094f64977477b4b2352637b56e30e5d9acfcdf7ccd5f4269a824829dd39 apache-tomcat-8.5.65.tar.gz
ダウンロードした tar.gz ファイルを展開します。
# tar zxf apache-tomcat-8.5.65.tar.gz
3.Alfresco Content Services のインストール
alfresco-content-services-distribution-6.2.x.zip、alfresco-aos-module-distributionzip-1.3.2.zip をあらかじめサーバに配置します。
必要に応じて実行用ユーザを作成します。
# useradd alfresco
データ格納用ディレクトリを作成します。
# mkdir -p /var/lib/alfresco/data \
&& chown -R alfresco:alfresco /var/lib/alfresco \
&& ls -l /var/lib/alfresco
total 0
drwxr-xr-x. 2 alfresco alfresco 6 Apr 26 06:49 data
ログ格納用ディレクトリを作成します。
# mkdir -p /var/log/alfresco/platform \
&& mkdir -p /var/log/alfresco/share \
&& mkdir -p /var/log/alfresco/tomcat \
&& chown -R alfresco:alfresco /var/log/alfresco \
&& ls -l /var/log/alfresco
total 0
drwxr-xr-x. 2 alfresco alfresco 6 Apr 26 06:35 platform
drwxr-xr-x. 2 alfresco alfresco 6 Apr 26 06:35 share
drwxr-xr-x. 2 alfresco alfresco 6 Apr 26 06:35 tomcat
postgres ユーザで psql コマンドを実行します。
# su - postgres
$ psql
データベースを作成します。
postgres=# CREATE ROLE alfresco PASSWORD 'alfresco' createdb login;
postgres=# GRANT alfresco TO postgres;
postgres=# CREATE DATABASE alfresco OWNER alfresco template=template0 encoding='utf-8' lc_collate='C' lc_ctype='C';
CREATE DATABASE
postgres ユーザからログアウトします。
postgres=# \q
$ exit
/opt 配下に新しくディレクトリを作成し、Tomcat のディレクトリを配置します。
# mkdir -p /opt/alfresco/content-services \
&& mv /root/apache-tomcat-8.5.65 /opt/alfresco/content-services/tomcat
alfresco-content-services-distribution-6.2.2.15.zip ファイルを展開します。
# unzip alfresco-content-services-distribution-6.2.2.15.zip -d /opt/alfresco/content-services/
alfresco-aos-module-distributionzip-1.3.2.zip ファイルを展開します。
# unzip /root/alfresco-aos-module-distributionzip-1.3.2.zip -d /opt/alfresco/content-services/amps/
Alfresco PDF Renderer の tgz ファイルを展開します。
# cd /opt/alfresco/content-services/alfresco-pdf-renderer \
&& tar zxf alfresco-pdf-renderer-1.1-linux.tgz
Tomcat のディレクトリ配下に次のディレクトリを作成します。
# mkdir -p /opt/alfresco/content-services/tomcat/shared/lib \
&& ls -l /opt/alfresco/content-services/tomcat/shared
total 0
drwxr-xr-x. 2 root root 6 Aug  9 05:11 lib
/opt/alfresco/content-services/tomcat/conf/catalina.properties を編集し、「編集箇所」が記載の通りになるようにします。
# vi /opt/alfresco/content-services/tomcat/conf/catalina.properties
shared.loader=${catalina.base}/shared/classes,${catalina.base}/shared/lib/*.jar
/opt/alfresco/content-services/tomcat/conf/server.xml ファイルを編集します。
# vi /opt/alfresco/content-services/tomcat/conf/server.xml
(省略)
<Connector port="8080" protocol="HTTP/1.1"
connectionTimeout="20000"
URIEncoding="UTF-8" ←追加
maxHttpHeaderSize="32768" ←追加
redirectPort="8443" />
(中略)
<!-- Access log processes all example.
Documentation at: /docs/config/valve.html
Note: The pattern used is equivalent to using pattern="common" -->
<Valve className="org.apache.catalina.valves.AccessLogValve" directory="/var/log/alfresco/tomcat" ←編集
prefix="localhost_access_log" suffix=".txt"
pattern="%h %l %u %t "%r" %s %b" />
(省略)
catalina_pid 用に setenv.sh ファイルを作成します。
# vi /opt/alfresco/content-services/tomcat/bin/setenv.sh
## for Systemd
CATALINA_PID="$CATALINA_BASE/content-services.pid"
Tomcat ログの出力先を変更します。
# sed -i -e "s/\${catalina.base}\/logs/\/var\/log\/alfresco\/tomcat/g" /opt/alfresco/content-services/tomcat/conf/logging.properties
catalina.out の出力先を変更します。「編集箇所」が記載の通りになるようにします。
# vi /opt/alfresco/content-services/tomcat/bin/catalina.sh
CATALINA_OUT=/var/log/alfresco/tomcat/catalina.out
アドオン用のディレクトリをあらかじめ作成します
# mkdir -p /opt/alfresco/content-services/modules/platform /opt/alfresco/content-services/modules/share \
&& ls -l /opt/alfresco/content-services/modules/
total 0
drwxr-xr-x. 2 root root 6  8月  9 16:09 platform
drwxr-xr-x. 2 root root 6  8月  9 16:09 share
tomcat/webapp 配下のフォルダを全て削除します。
# rm -rf /opt/alfresco/content-services/tomcat/webapps/* \
&& ls -l /opt/alfresco/content-services/tomcat/webapps/
total 0
web-server/webapps/ 配下の war ファイルを tomcat/webapp 配下に移動します。
# mv /opt/alfresco/content-services/web-server/webapps/* /opt/alfresco/content-services/tomcat/webapps/ \
&& ls -l /opt/alfresco/content-services/tomcat/webapps/ | grep war
-rw-rw-r--. 1 root root 214631448 Dec 27 12:45 alfresco.war
-rw-rw-r--. 1 root root 275031 Nov 15 14:09 ROOT.war
-rw-rw-r--. 1 root root 75575656 Oct 25 16:29 share.war
-rw-rw-r--. 1 root root 762845 Nov 15 14:10 _vti_bin.war
コンテンツを移動します。
# mv /opt/alfresco/content-services/web-server/conf/* /opt/alfresco/content-services/tomcat/conf/ \
&& mv /opt/alfresco/content-services/web-server/lib/* /opt/alfresco/content-services/tomcat/lib/ \
&& mv /opt/alfresco/content-services/web-server/shared/* /opt/alfresco/content-services/tomcat/shared/
web-server フォルダを削除します。
# rm -rf /opt/alfresco/content-services/web-server/
alfresco-global.properties ファイルを作成します。
# vi /opt/alfresco/content-services/tomcat/shared/classes/alfresco-global.properties
LibreOffice や ImageMagick などの設定箇所は、必要に応じて適宜バージョンやパスを読み替えて設定してください。
また、インストール先を変更した場合も同様にパスを読み替えてください。
ImageMagick をソースからインストールした場合、img.root の値は次のような形式になります。
img.root=/usr/local/lib/ImageMagick-<バージョン番号>
###############################
## Common Alfresco Properties #
###############################

#
# Sample custom content and index data location
#
dir.root=/opt/alfresco/content-services/alf_data
dir.keystore=${dir.root}/keystore

#
# database connection properties
#
db.host=localhost
db.port=5432

#
# External locations
#-------------
jodconverter.officeHome=/opt/libreoffice6.3
jodconverter.portNumbers=8101
jodconverter.enabled=true
img.root=/usr/local/lib/ImageMagick-7.0.11
img.exe=/usr/local/bin/convert

#
# PostgreSQL connection (requires postgresql-8.2-504.jdbc3.jar or equivalent)
#
db.driver=org.postgresql.Driver
db.url=jdbc:postgresql://localhost:5432/alfresco

# ActiveMQ Setting
messaging.broker.url=failover:(tcp://localhost:61616)?timeout=3000

### Solr indexing
index.subsystem.name=solr6

### Alfresco PDF Renderer ###
alfresco-pdf-renderer.root=/opt/alfresco/content-services/alfresco-pdf-renderer
alfresco-pdf-renderer.exe=${alfresco-pdf-renderer.root}/alfresco-pdf-renderer

### Auditing config

audit.enabled=true
audit.alfresco-access.enabled=true

### Enabling sub-actions

# Enable the auditing of sub-actions. Normally disabled as these values are
# not normally needed by audit configurations, but may be useful to
# developers
#audit.alfresco-access.sub-actions.enabled=true
Alfresco SSL Generator で生成した証明書をコピーします。
# cp -p /root/work/alfresco-ssl-generator-master/ssl-tool/keystores/alfresco/* /opt/alfresco/content-services/alf_data/keystore/
権限を変更します。
# chown -R alfresco:alfresco /opt/alfresco/ \
&& find /opt/alfresco/ ! -user alfresco | wc -l
0
amp を適用するスクリプトに実行権限を付与します。
# chmod u+x /opt/alfresco/content-services/bin/apply_amps.sh
alfresco 実行用ユーザにスイッチします。
# su - alfresco
スクリプトを実行します。
$ /opt/alfresco/content-services/bin/apply_amps.sh
/bin/java

Found installed java executable on the system

This script will apply all the AMPs in amps and amps_share to the alfresco.war and share.war files in /opt/alfresco/content-services/tomcat/webapps
Press control-c to stop this script . . .
Press any other key to continue . . . ←何かキーを押す

Module 'alfresco-aos-module' installed in '/opt/alfresco/content-services/tomcat/webapps/alfresco.war'
   -    Title:        Alfresco Office Services Module
   -    Version:      1.3.2
   -    Install Date: Tue Apr 09 16:15:27 JST 2019
   -    Description:   Allows applications that can talk to a SharePoint server to talk to your Alfresco installation
Module 'alfresco-share-services' installed in '/opt/alfresco/content-services/tomcat/webapps/alfresco.war'
   -    Title:        Alfresco Share Services AMP
   -    Version:      6.2.2
   -    Install Date: Tue Apr 09 16:15:26 JST 2019
   -    Description:   Module to be applied to alfresco.war, containing APIs for Alfresco Share
No modules are installed in this WAR file
About to clean out /opt/alfresco/content-services/tomcat/webapps/alfresco and share directories and temporary files...
Press control-c to stop this script . . .
Press any other key to continue . . . ←何かキーを押す

Cleaning temporary Alfresco files from Tomcat...
alfresco 実行用ユーザからログアウトします。
$ exit
Alfresco Content Services のサービスファイルを作成します。
# vi /etc/systemd/system/content-services.service
[Unit]
Description=Alfresco Content Services
After=network.target postgresql-11.service activemq.service

[Service]
Restart=no
Type=forking
User=alfresco
Group=alfresco
PIDFile=/opt/alfresco/content-services/tomcat/content-services.pid
ExecStart=/opt/alfresco/content-services/tomcat/bin/startup.sh
ExecStop=/opt/alfresco/content-services/tomcat/bin/shutdown.sh

[Install]
WantedBy=multi-user.target
Alfresco Content Services の自動起動を設定します。
# systemctl daemon-reload \
&& systemctl enable content-services \
&& systemctl is-enabled content-services \
&& systemctl list-unit-files --type=service | grep content-services
Created symlink from /etc/systemd/system/multi-user.target.wants/content-services.service to /usr/lib/systemd/system/content-services.service.
enabled
content-services.service                      enabled
Alfresco Content Services を起動します。
# systemctl start content-services && systemctl is-active content-services
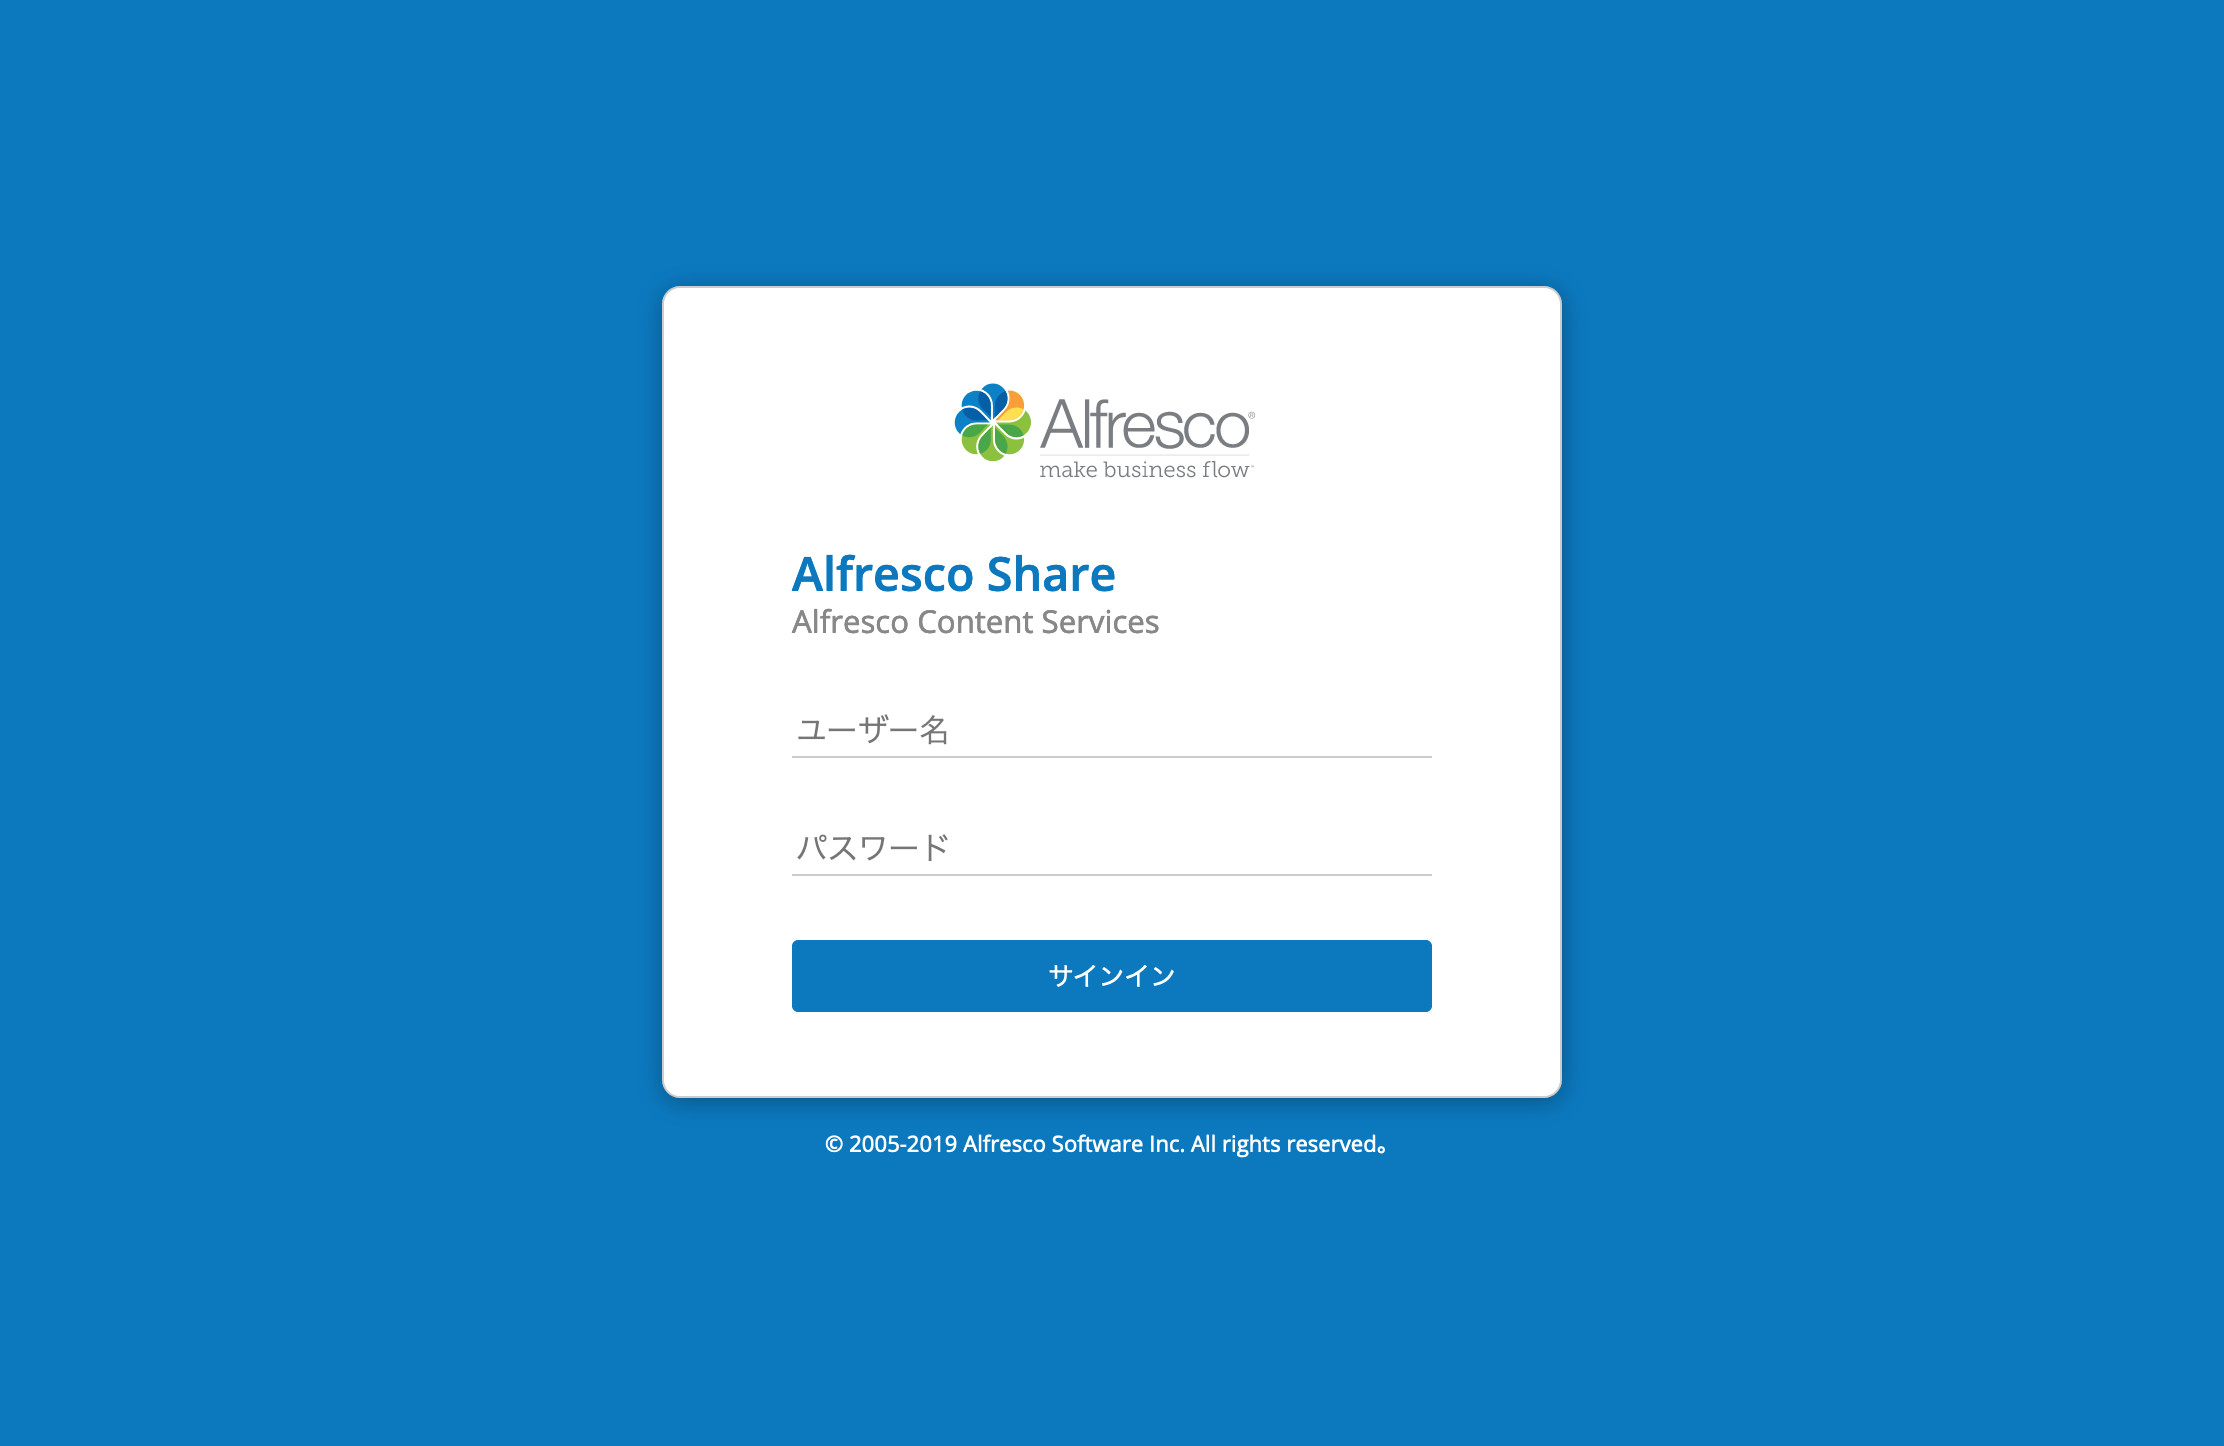
次の情報でログインします。
| 項目名 | 設定値 | |
|---|---|---|
| 1 | URL | http://<IPアドレス>:<ポート>/share |
| 2 | ユーザー名 | admin |
| 3 | パスワード | admin |
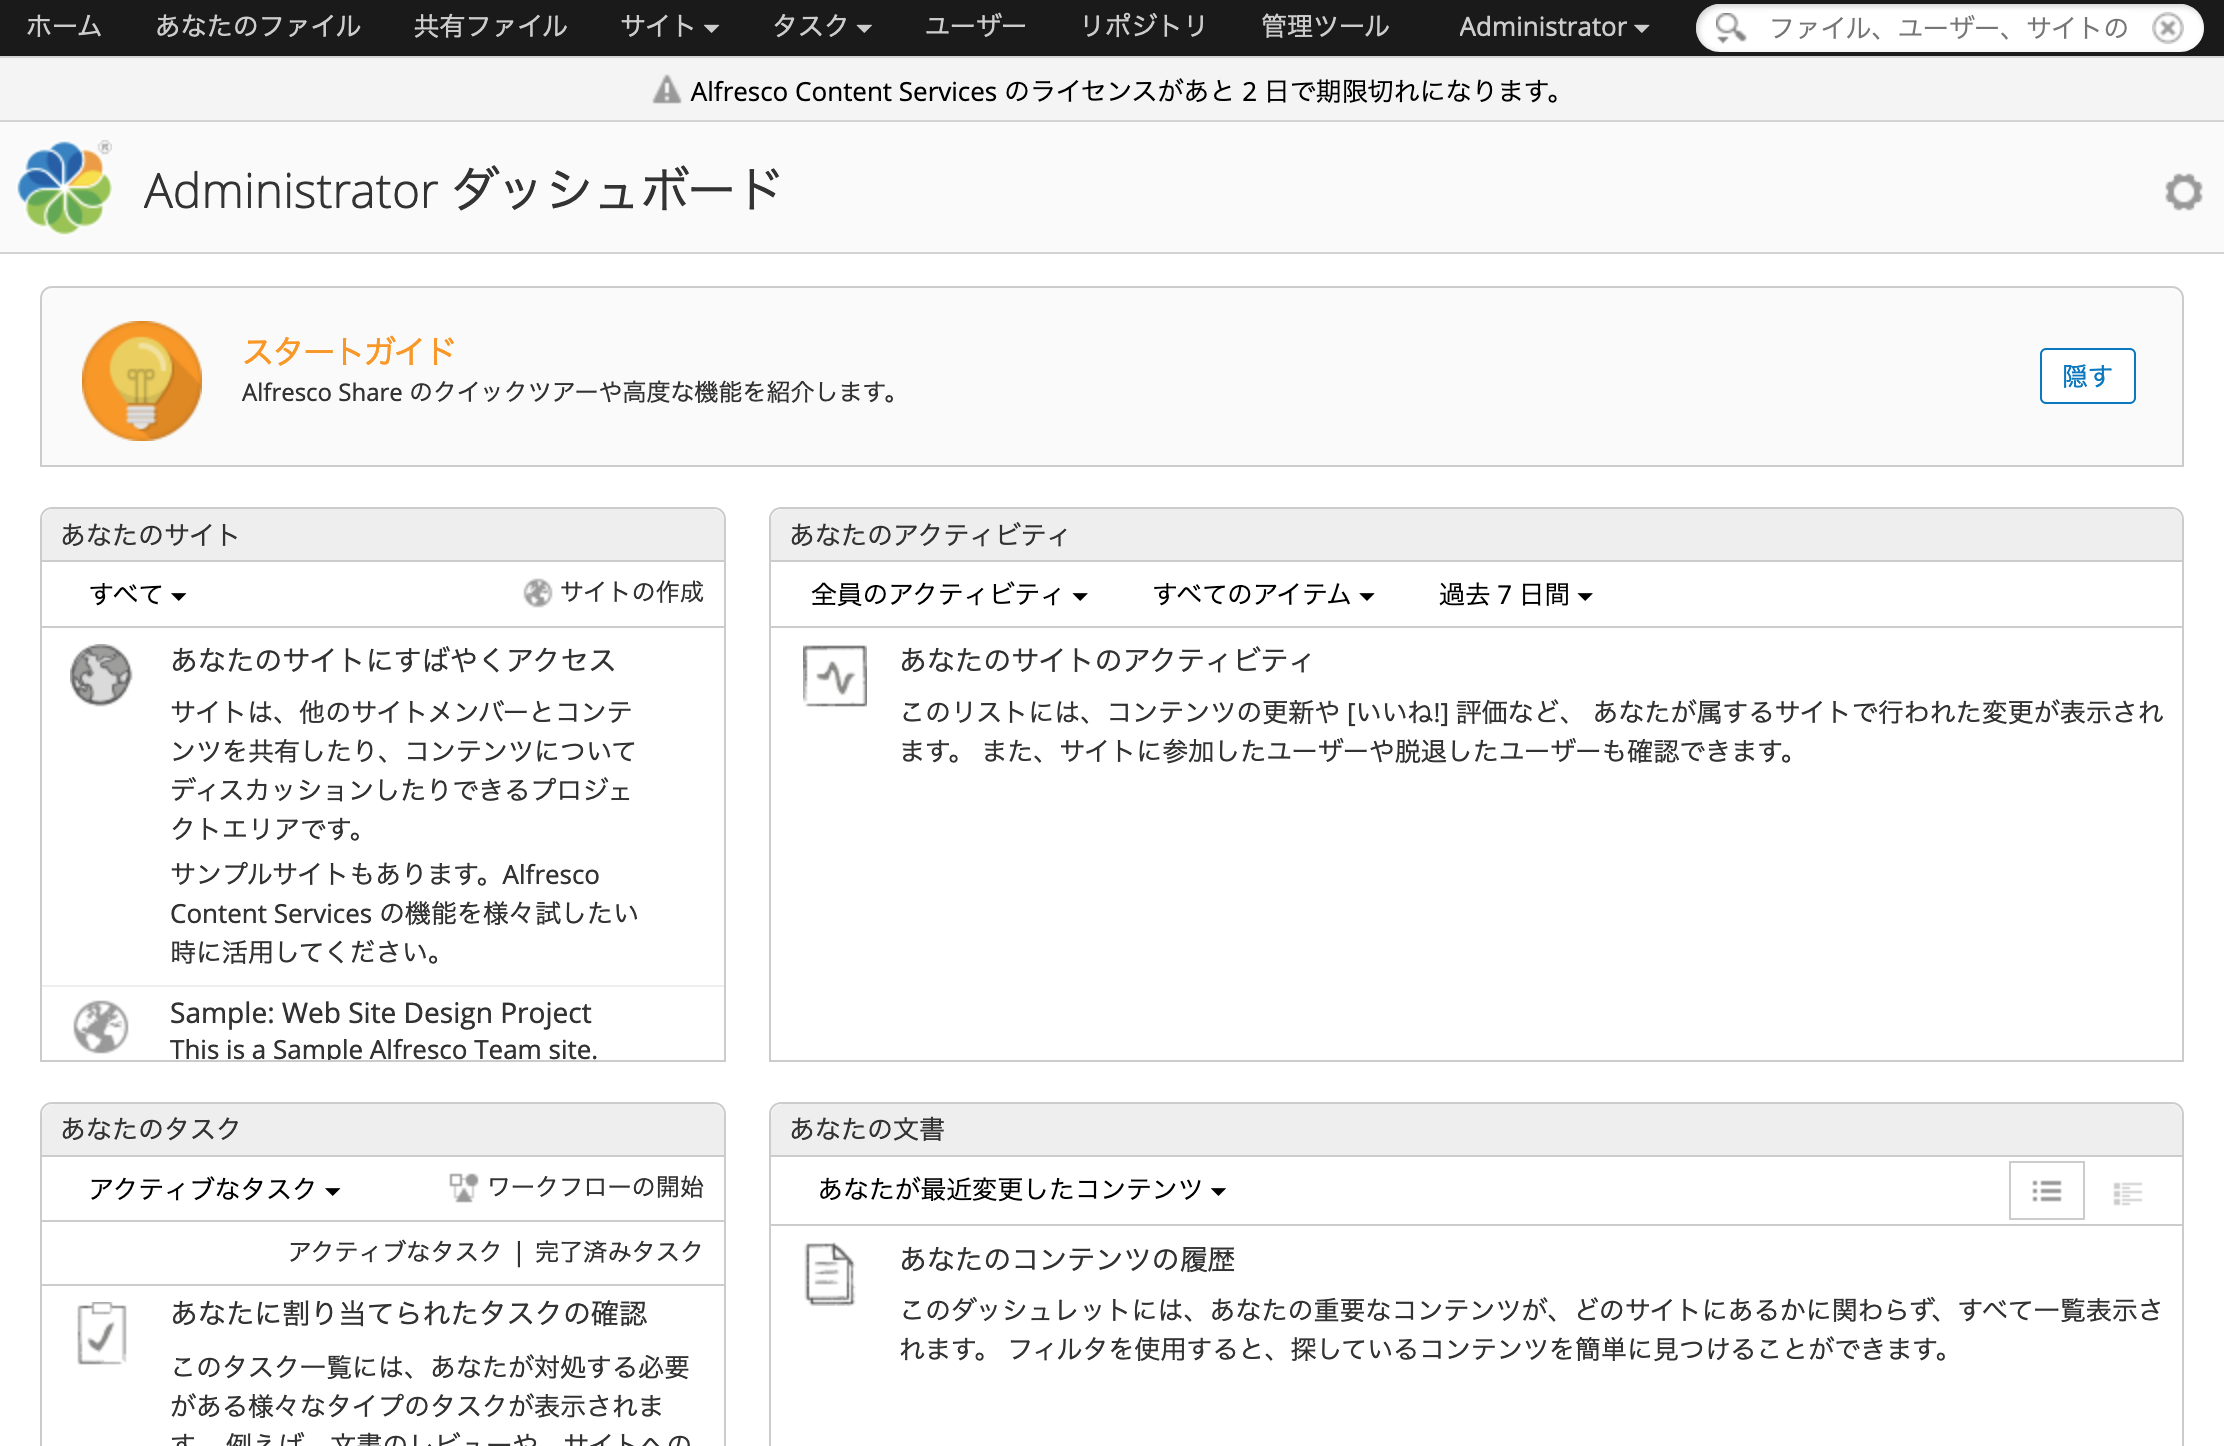
ログインすると次のホーム画面に遷移します。
Alfresco Content Services を停止します。
# systemctl stop content-services && systemctl is-active content-services
Repository 側のログの出力先を変更します。「編集箇所」が記載の通りになるようにします。
# vi /opt/alfresco/content-services/tomcat/webapps/alfresco/WEB-INF/classes/log4j.properties
log4j.appender.File.File=/var/log/alfresco/platform/alfresco.log
Share 側のログの出力先を変更します。「編集箇所」が記載の通りになるようにします。
# vi /opt/alfresco/content-services/tomcat/webapps/share/WEB-INF/classes/log4j.properties
log4j.appender.File.File=/var/log/alfresco/share/share.log
TinyMCE language pack から必要な言語を選択してダウンロードし、その zip ファイルをあらかじめサーバに配置します。
tinymce_languages.zip ファイルを展開します。
# unzip tinymce_languages.zip -d /opt/alfresco/content-services/tomcat/webapps/share/modules/editors/tiny_mce
権限を変更します。
# chown -R alfresco:alfresco /opt/alfresco/ && find /opt/alfresco/ ! -user alfresco | wc -l
0
再度 Alfresco Content Services を起動します。
# systemctl start content-services && systemctl is-active content-services
Alfresco Search Services をインストールします。
- 公式ドキュメント:
- RS サポートドキュメント: Alfresco Search Services のインストール
Related content
リックソフト株式会社 は、日本でトップレベルのAtlassian Platinum Solution Partnerです。
大規模ユーザーへの対応実績が認められたEnterpriseの認定をうけ、高度なトレーニング要件をクリアし、小規模から大規模のお客様まで対応可能な実績を示したパートナー企業です。
Copyright © Ricksoft Co., Ltd. プライバシーポリシー お問い合わせ

