はじめに
このページでは Alfresco Content Services 6.2 のインストール方法を説明します。
前提として、Alfresco SSL Generator を実行済みであるとします。
1.事前準備
1.1 確認事項
Alfresco Content Service 6.2.x のサポートプラットフォームを確認してください。
1.2 事前準備
1.2.1 必要ファイルの入手
事前に以下のファイルを入手してください。
ファイルの入手はリックソフトのヘルプデスクに依頼ください。
| インストールファイル | ファイル名 | 説明 |
|---|---|---|
Alfresco Content Services Distribution zip | alfresco-content-services-distribution-6.2.x.zip | 新規インストールまたはアップグレード用の配布zipファイル 既存のTomcatアプリケーションサーバーへの手動インストール用のAlfresco WARファイル(配布zipファイル内)。 この配布zipファイルには、モジュール管理ツール(MMT)およびalfresco-global.propertiesなどのサンプル拡張ファイルも含まれています。 |
Alfresco Search Services Distribution zip | alfresco-search-services-2.0.x.zip | Alfresco Search Services インストールファイル。 詳細については、Alfresco Search Servicesのインストールと構成を参照してください。 |
alfresco-aos-module-distributionzip-1.3.2.zip | alfresco-aos-module-distributionzip-1.3.2.zip | Alfresco Office Services Module(AOS)を使用すると、Microsoft OfficeアプリケーションからAlfrescoに直接アクセスできます。 |
1.2.2 事前準備のためのインストール
以下のミドルウェアをインストールします。
インストール手順についてはリックソフトサポートドキュメントも参考にしてください。
1〜5 については、それぞれの公式ドキュメント、6 は Alfresco 社の GitHub リポジトリにも手順があります。
- OpenJDK をインストールします
- PostgreSQL をインストールします
- 公式ドキュメント:
- RS サポートドキュメント: PostgreSQL のインストール(CentOS 7 でパッケージから)
- LibreOffice をインストールします
- 公式ドキュメント: Installing LibreOffice on Linux
- RS サポートドキュメント: LibreOffice のインストール
- ImageMagick をインストールします
- 公式ドキュメント: Linux Binary Release
- RS サポートドキュメント: ImageMagick のインストール(ソースから)
- ActiveMQ をインストールします
- 公式ドキュメント: Installation Procedure for Unix
- RS サポートドキュメント: ActiveMQ のインストール
- Alfresco SSL Generator を実行します
- GitHub リンク: Welcome to Alfresco SSL Generator
- RS サポートドキュメント: Alfresco SSL Generator の設定 (※クラシックフォーマットを前提としています)
2.Tomcat のインストール
次のコマンドを実行して Tomcat の tar.gz ファイルをダウンロードします。(ここではアーカイブされたバージョンのファイルをダウンロードしています)
# curl -LkOf https://archive.apache.org/dist/tomcat/tomcat-8/v8.5.65/bin/apache-tomcat-8.5.65.tar.gz
ダウンロードしたファイルが破損していないか確認します(Index of /dist/tomcat/tomcat-8)
# sha512sum apache-tomcat-8.5.65.tar.gz
eb5a77d75a46496f7de39c1cba5f4fc4991ec7da7717e7b37ad48b4ca2ea334aeabfd094f64977477b4b2352637b56e30e5d9acfcdf7ccd5f4269a824829dd39 apache-tomcat-8.5.65.tar.gz
ダウンロードした tar.gz ファイルを展開します。
# tar zxf apache-tomcat-8.5.65.tar.gz
3.Alfresco Content Services のインストール
alfresco-content-services-distribution-6.2.x.zip、alfresco-aos-module-distributionzip-1.3.2.zip をあらかじめサーバに配置します。
必要に応じて実行用ユーザを作成します。
# useradd alfresco
データ格納用ディレクトリを作成します。
# mkdir -p /var/lib/alfresco/data \
&& chown -R alfresco:alfresco /var/lib/alfresco \
&& ls -l /var/lib/alfresco
total 0
drwxr-xr-x. 2 alfresco alfresco 6 Apr 26 06:49 data
ログ格納用ディレクトリを作成します。
# mkdir -p /var/log/alfresco/platform \
&& mkdir -p /var/log/alfresco/share \
&& mkdir -p /var/log/alfresco/tomcat \
&& chown -R alfresco:alfresco /var/log/alfresco \
&& ls -l /var/log/alfresco
total 0
drwxr-xr-x. 2 alfresco alfresco 6 Apr 26 06:35 platform
drwxr-xr-x. 2 alfresco alfresco 6 Apr 26 06:35 share
drwxr-xr-x. 2 alfresco alfresco 6 Apr 26 06:35 tomcat
postgres ユーザで psql コマンドを実行します。
# su - postgres
$ psql
データベースを作成します。
postgres=# CREATE ROLE alfresco PASSWORD 'alfresco' createdb login;
postgres=# GRANT alfresco TO postgres;
postgres=# CREATE DATABASE alfresco OWNER alfresco template=template0 encoding='utf-8' lc_collate='C' lc_ctype='C';
CREATE DATABASE
postgres ユーザからログアウトします。
postgres=# \q
$ exit
/opt 配下に新しくディレクトリを作成し、Tomcat のディレクトリを配置します。
# mkdir -p /opt/alfresco/content-services \
&& mv /root/apache-tomcat-8.5.65 /opt/alfresco/content-services/tomcat
alfresco-content-services-distribution-6.2.2.15.zip ファイルを展開します。
# unzip alfresco-content-services-distribution-6.2.2.15.zip -d /opt/alfresco/content-services/
alfresco-aos-module-distributionzip-1.3.2.zip ファイルを展開します。
# unzip /root/alfresco-aos-module-distributionzip-1.3.2.zip -d /opt/alfresco/content-services/amps/
Alfresco PDF Renderer の tgz ファイルを展開します。
# cd /opt/alfresco/content-services/alfresco-pdf-renderer \
&& tar zxf alfresco-pdf-renderer-1.1-linux.tgz
Tomcat のディレクトリ配下に次のディレクトリを作成します。
# mkdir -p /opt/alfresco/content-services/tomcat/shared/lib \
&& ls -l /opt/alfresco/content-services/tomcat/shared
total 0
drwxr-xr-x. 2 root root 6 Aug  9 05:11 lib
/opt/alfresco/content-services/tomcat/conf/catalina.properties を編集し、「編集箇所」が記載の通りになるようにします。
# vi /opt/alfresco/content-services/tomcat/conf/catalina.properties
shared.loader=${catalina.base}/shared/classes,${catalina.base}/shared/lib/*.jar
/opt/alfresco/content-services/tomcat/conf/server.xml ファイルを編集します。
# vi /opt/alfresco/content-services/tomcat/conf/server.xml
(省略)
<Connector port="8080" protocol="HTTP/1.1"
connectionTimeout="20000"
URIEncoding="UTF-8" ←追加
maxHttpHeaderSize="32768" ←追加
redirectPort="8443" />
(中略)
<!-- Access log processes all example.
Documentation at: /docs/config/valve.html
Note: The pattern used is equivalent to using pattern="common" -->
<Valve className="org.apache.catalina.valves.AccessLogValve" directory="/var/log/alfresco/tomcat" ←編集
prefix="localhost_access_log" suffix=".txt"
pattern="%h %l %u %t "%r" %s %b" />
(省略)
catalina_pid 用に setenv.sh ファイルを作成します。
# vi /opt/alfresco/content-services/tomcat/bin/setenv.sh
## for Systemd
CATALINA_PID="$CATALINA_BASE/content-services.pid"
Tomcat ログの出力先を変更します。
# sed -i -e "s/\${catalina.base}\/logs/\/var\/log\/alfresco\/tomcat/g" /opt/alfresco/content-services/tomcat/conf/logging.properties
catalina.out の出力先を変更します。「編集箇所」が記載の通りになるようにします。
# vi /opt/alfresco/content-services/tomcat/bin/catalina.sh
CATALINA_OUT=/var/log/alfresco/tomcat/catalina.out
アドオン用のディレクトリをあらかじめ作成します
# mkdir -p /opt/alfresco/content-services/modules/platform /opt/alfresco/content-services/modules/share \
&& ls -l /opt/alfresco/content-services/modules/
total 0
drwxr-xr-x. 2 root root 6  8月  9 16:09 platform
drwxr-xr-x. 2 root root 6  8月  9 16:09 share
tomcat/webapp 配下のフォルダを全て削除します。
# rm -rf /opt/alfresco/content-services/tomcat/webapps/* \
&& ls -l /opt/alfresco/content-services/tomcat/webapps/
total 0
web-server/webapps/ 配下の war ファイルを tomcat/webapp 配下に移動します。
# mv /opt/alfresco/content-services/web-server/webapps/* /opt/alfresco/content-services/tomcat/webapps/ \
&& ls -l /opt/alfresco/content-services/tomcat/webapps/ | grep war
-rw-rw-r--. 1 root root 214631448 Dec 27 12:45 alfresco.war
-rw-rw-r--. 1 root root 275031 Nov 15 14:09 ROOT.war
-rw-rw-r--. 1 root root 75575656 Oct 25 16:29 share.war
-rw-rw-r--. 1 root root 762845 Nov 15 14:10 _vti_bin.war
コンテンツを移動します。
# mv /opt/alfresco/content-services/web-server/conf/* /opt/alfresco/content-services/tomcat/conf/ \
&& mv /opt/alfresco/content-services/web-server/lib/* /opt/alfresco/content-services/tomcat/lib/ \
&& mv /opt/alfresco/content-services/web-server/shared/* /opt/alfresco/content-services/tomcat/shared/
web-server フォルダを削除します。
# rm -rf /opt/alfresco/content-services/web-server/
alfresco-global.properties ファイルを作成します。
# vi /opt/alfresco/content-services/tomcat/shared/classes/alfresco-global.properties
LibreOffice や ImageMagick などの設定箇所は、必要に応じて適宜バージョンやパスを読み替えて設定してください。
また、インストール先を変更した場合も同様にパスを読み替えてください。
ImageMagick をソースからインストールした場合、img.root の値は次のような形式になります。
img.root=/usr/local/lib/ImageMagick-<バージョン番号>
###############################
## Common Alfresco Properties #
###############################

#
# Sample custom content and index data location
#
dir.root=/opt/alfresco/content-services/alf_data
dir.keystore=${dir.root}/keystore

#
# database connection properties
#
db.host=localhost
db.port=5432

#
# External locations
#-------------
jodconverter.officeHome=/opt/libreoffice6.3
jodconverter.portNumbers=8101
jodconverter.enabled=true
img.root=/usr/local/lib/ImageMagick-7.0.11
img.exe=/usr/local/bin/convert

#
# PostgreSQL connection (requires postgresql-8.2-504.jdbc3.jar or equivalent)
#
db.driver=org.postgresql.Driver
db.url=jdbc:postgresql://localhost:5432/alfresco

# ActiveMQ Setting
messaging.broker.url=failover:(tcp://localhost:61616)?timeout=3000

### Solr indexing
index.subsystem.name=solr6

### Alfresco PDF Renderer ###
alfresco-pdf-renderer.root=/opt/alfresco/content-services/alfresco-pdf-renderer
alfresco-pdf-renderer.exe=${alfresco-pdf-renderer.root}/alfresco-pdf-renderer

### Auditing config

audit.enabled=true
audit.alfresco-access.enabled=true

### Enabling sub-actions

# Enable the auditing of sub-actions. Normally disabled as these values are
# not normally needed by audit configurations, but may be useful to
# developers
#audit.alfresco-access.sub-actions.enabled=true
Alfresco SSL Generator で生成した証明書をコピーします。
# cp -p /root/work/alfresco-ssl-generator-master/ssl-tool/keystores/alfresco/* /opt/alfresco/content-services/alf_data/keystore/
権限を変更します。
# chown -R alfresco:alfresco /opt/alfresco/ \
&& find /opt/alfresco/ ! -user alfresco | wc -l
0
amp を適用するスクリプトに実行権限を付与します。
# chmod u+x /opt/alfresco/content-services/bin/apply_amps.sh
alfresco 実行用ユーザにスイッチします。
# su - alfresco
スクリプトを実行します。
$ /opt/alfresco/content-services/bin/apply_amps.sh
/bin/java

Found installed java executable on the system

This script will apply all the AMPs in amps and amps_share to the alfresco.war and share.war files in /opt/alfresco/content-services/tomcat/webapps
Press control-c to stop this script . . .
Press any other key to continue . . . ←何かキーを押す

Module 'alfresco-aos-module' installed in '/opt/alfresco/content-services/tomcat/webapps/alfresco.war'
   -    Title:        Alfresco Office Services Module
   -    Version:      1.3.2
   -    Install Date: Tue Apr 09 16:15:27 JST 2019
   -    Description:   Allows applications that can talk to a SharePoint server to talk to your Alfresco installation
Module 'alfresco-share-services' installed in '/opt/alfresco/content-services/tomcat/webapps/alfresco.war'
   -    Title:        Alfresco Share Services AMP
   -    Version:      6.2.2
   -    Install Date: Tue Apr 09 16:15:26 JST 2019
   -    Description:   Module to be applied to alfresco.war, containing APIs for Alfresco Share
No modules are installed in this WAR file
About to clean out /opt/alfresco/content-services/tomcat/webapps/alfresco and share directories and temporary files...
Press control-c to stop this script . . .
Press any other key to continue . . . ←何かキーを押す

Cleaning temporary Alfresco files from Tomcat...
alfresco 実行用ユーザからログアウトします。
$ exit
Alfresco Content Services のサービスファイルを作成します。
# vi /etc/systemd/system/content-services.service
[Unit]
Description=Alfresco Content Services
After=network.target postgresql-11.service activemq.service

[Service]
Restart=no
Type=forking
User=alfresco
Group=alfresco
PIDFile=/opt/alfresco/content-services/tomcat/content-services.pid
ExecStart=/opt/alfresco/content-services/tomcat/bin/startup.sh
ExecStop=/opt/alfresco/content-services/tomcat/bin/shutdown.sh

[Install]
WantedBy=multi-user.target
Alfresco Content Services の自動起動を設定します。
# systemctl daemon-reload \
&& systemctl enable content-services \
&& systemctl is-enabled content-services \
&& systemctl list-unit-files --type=service | grep content-services
Created symlink from /etc/systemd/system/multi-user.target.wants/content-services.service to /usr/lib/systemd/system/content-services.service.
enabled
content-services.service                      enabled
Alfresco Content Services を起動します。
# systemctl start content-services && systemctl is-active content-services
次の情報でログインします。
| 項目名 | 設定値 | |
|---|---|---|
| 1 | URL | http://<IPアドレス>:<ポート>/share |
| 2 | ユーザー名 | admin |
| 3 | パスワード | admin |
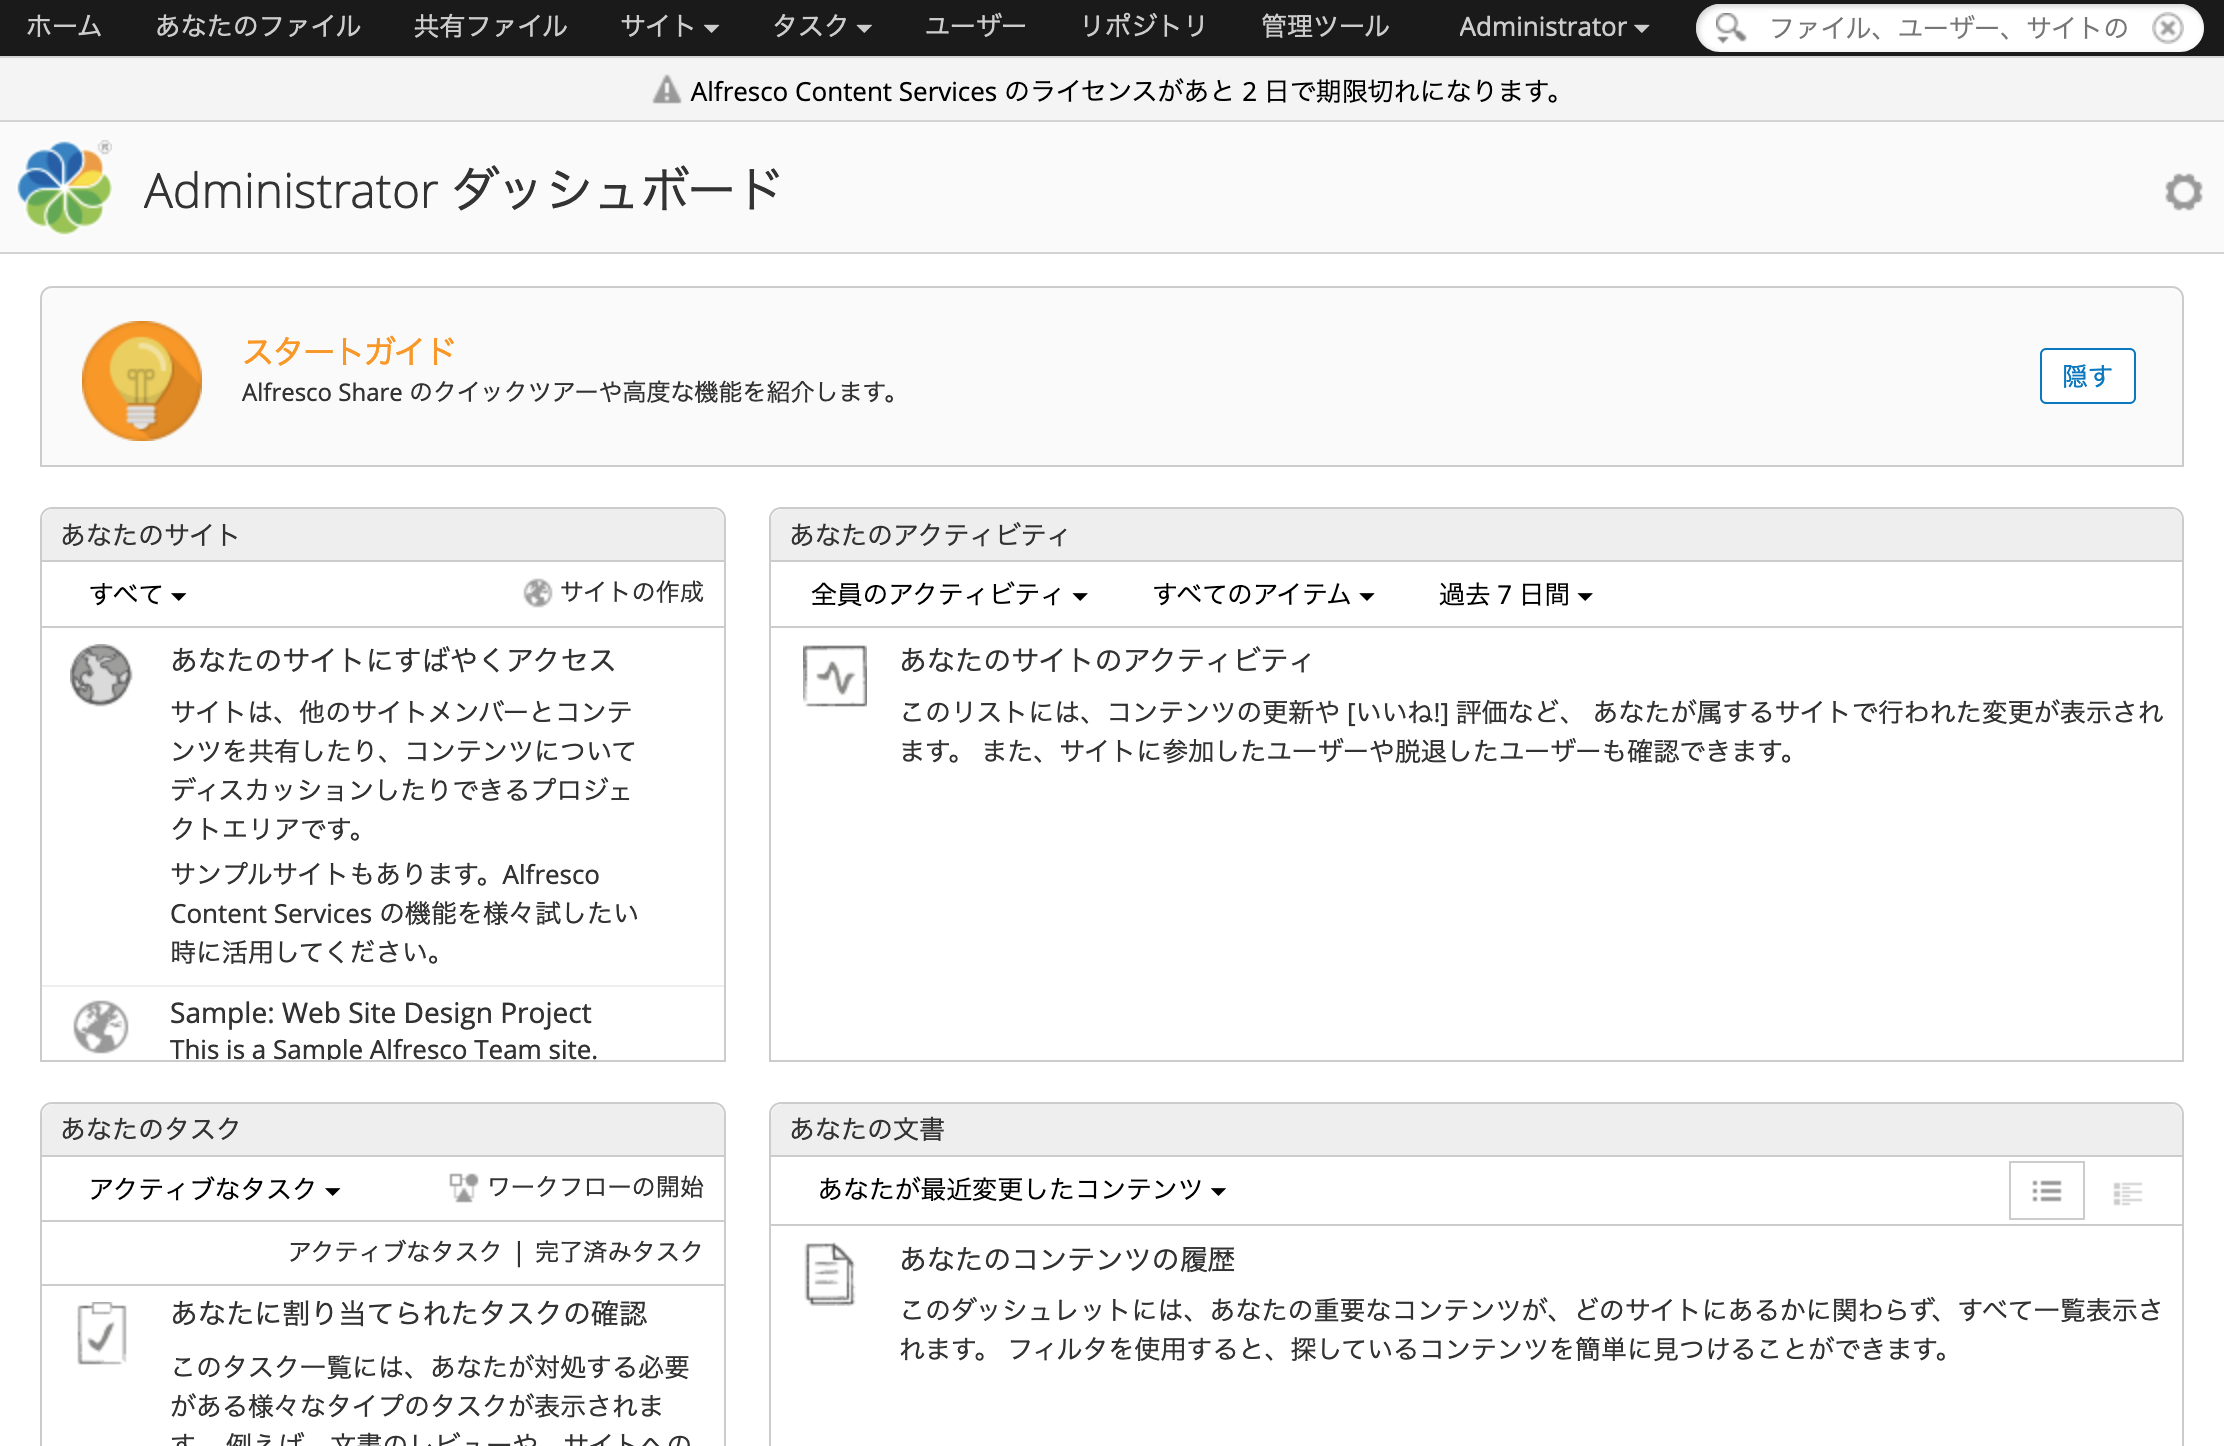
ログインすると次のホーム画面に遷移します。
Alfresco Content Services を停止します。
# systemctl stop content-services && systemctl is-active content-services
Repository 側のログの出力先を変更します。「編集箇所」が記載の通りになるようにします。
# vi /opt/alfresco/content-services/tomcat/webapps/alfresco/WEB-INF/classes/log4j.properties
log4j.appender.File.File=/var/log/alfresco/platform/alfresco.log
Share 側のログの出力先を変更します。「編集箇所」が記載の通りになるようにします。
# vi /opt/alfresco/content-services/tomcat/webapps/share/WEB-INF/classes/log4j.properties
log4j.appender.File.File=/var/log/alfresco/share/share.log
TinyMCE language pack から必要な言語を選択してダウンロードし、その zip ファイルをあらかじめサーバに配置します。
tinymce_languages.zip ファイルを展開します。
# unzip tinymce_languages.zip -d /opt/alfresco/content-services/tomcat/webapps/share/modules/editors/tiny_mce
権限を変更します。
# chown -R alfresco:alfresco /opt/alfresco/ && find /opt/alfresco/ ! -user alfresco | wc -l
0
再度 Alfresco Content Services を起動します。
# systemctl start content-services && systemctl is-active content-services
Alfresco Search Services をインストールします。
- 公式ドキュメント:
- RS サポートドキュメント: Alfresco Search Services のインストール